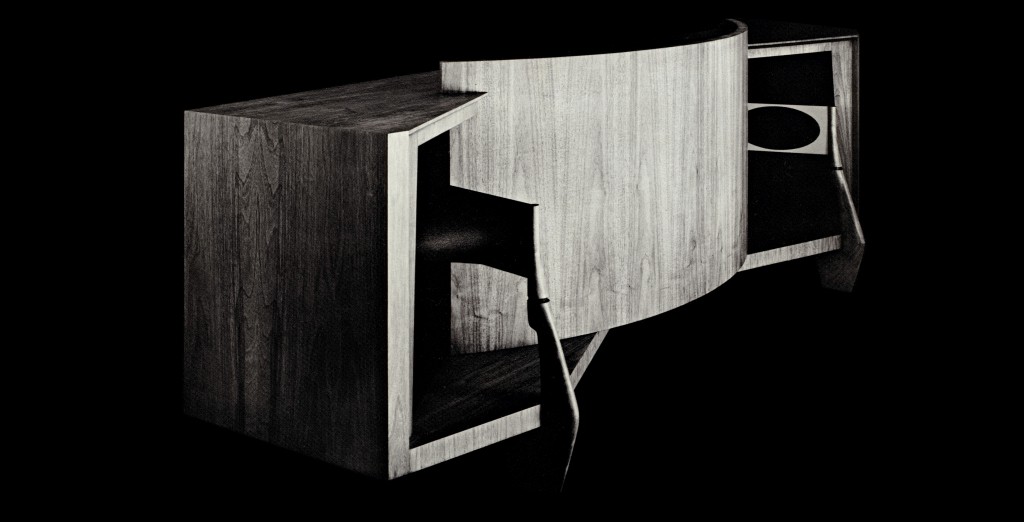
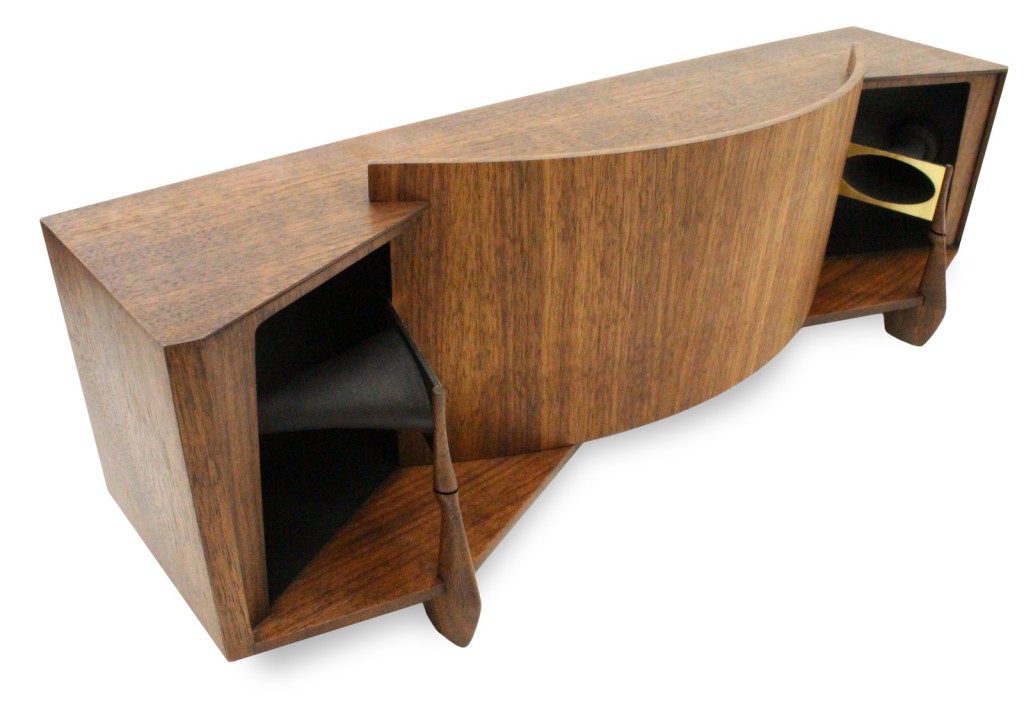
In 1957, James B Lansing introduced a gorgeous and iconic loud speaker system called the D44000 Paragon. The JBL Paragon was a high-end stereo speaker enclosure. It contained 6 drivers in it’s spacious 9 foot enclosure; two mid-range horns, two tweeter horns, and two woofers. The enclosure was made of beautiful, contoured, stained hardwood. It is, in my opinion, as much a work of art as it is functional musical equipment. The curves, reminiscent of the 50’s contemporary design doesn’t look out of place in any modern setting.
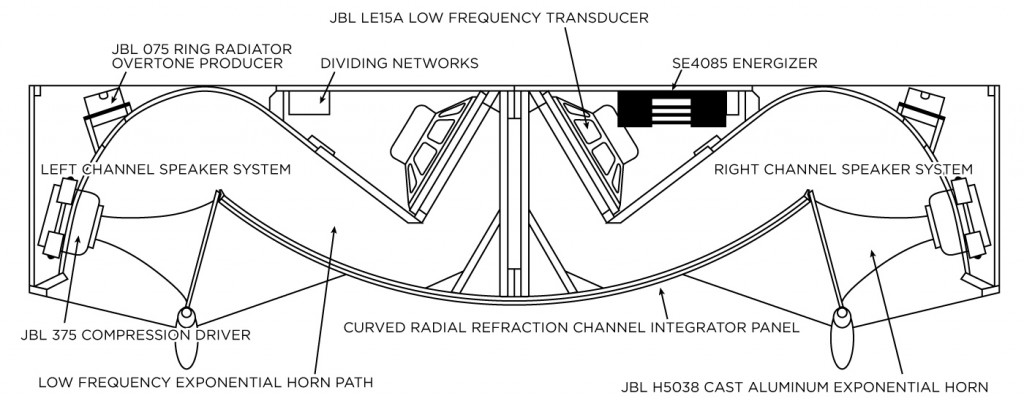
The entire enclosure was designed to efficiently deliver balanced and powerful audio to a (very) large room. The two woofers set inside the cabinet act as drivers for a left and right channel horns that are made of the enclosure itself. This system is capable of immense power.
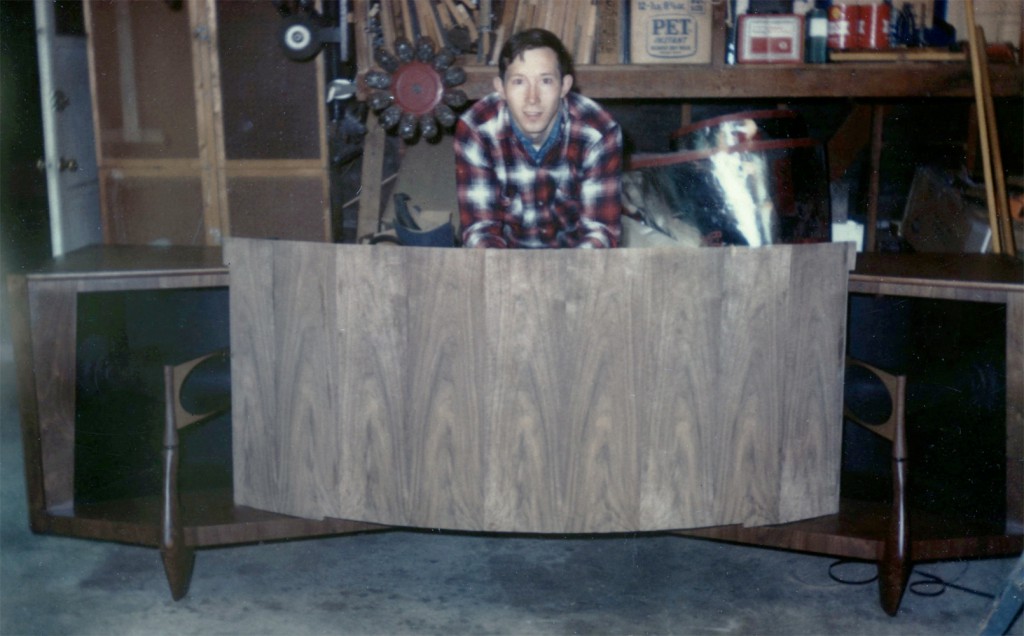
My dad built one of these back in the 60’s when they retailed for $2,500.00. We all grew up in our house listening to this magnificent speaker, and have grown to love both the aesthetics and sound that it produces. With only a little more than 1000 ever produced, Paragons can fetch more than $25,000 at auction, and are very sought after by collectors.
I have always wanted to have my own Paragon, however they are generally cost prohibitive. Even building from scratch can cost multiple thousands of dollars. Beyond that, the large footprint is another limiting factor. Perhaps someday this will be achievable, but for now, I am going to have to settle for something a little more achievable; a 1/5th scale Paragon.
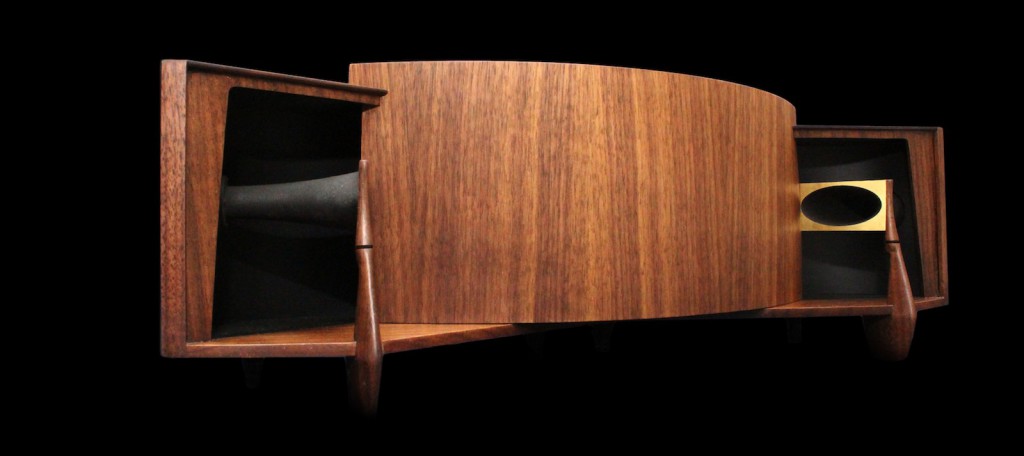
This replica is a fully functional 4-way shelf speaker system. It has functioning horns, and replicates every nuance of the original Paragon en-miniature.
I’m exited to share some of the details of creating this miniature Paragon with the hope of bringing others to appreciate this piece of HiFi history, or perhaps just to inspire others to embark on similar creative projects.
Scaling Down
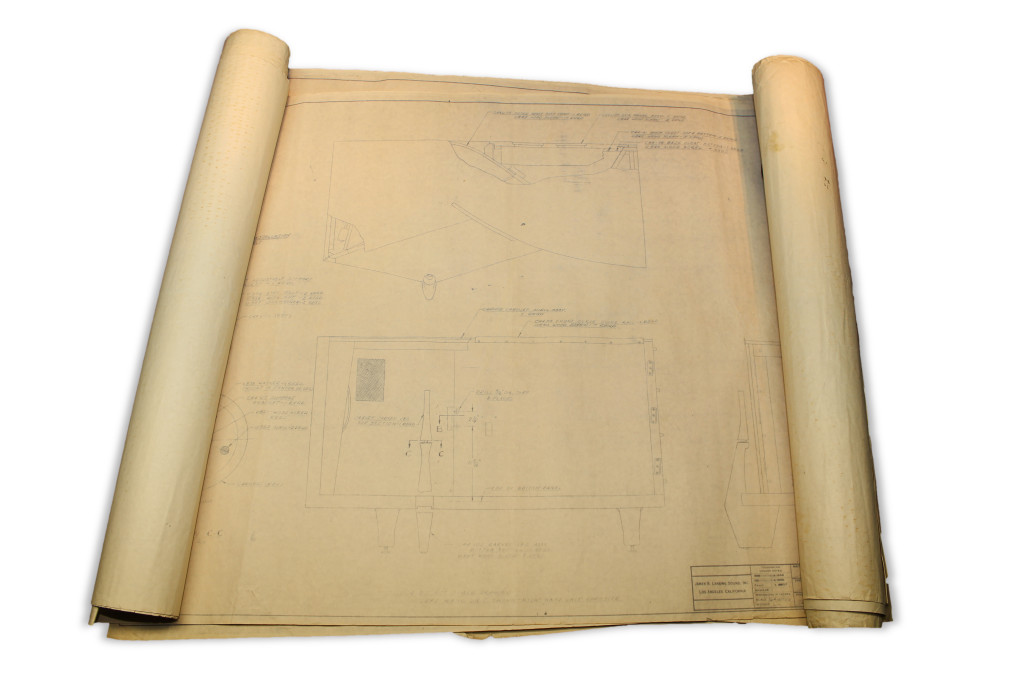
The first step was scaling down all the measurements. My dad still has the original plans for the Paragon that he purchased from JBL back in the 60’s. We toyed with various sizes, and decided that 20 inches wide would be a comfortable size for bookshelf speakers without becoming too unwieldy. That worked out to be about 1:5, so that’s the scale we stuck with.
I went through the plans and scaled down all the major measurements by 5, and drew up basic plans in Adobe Illustrator. Obviously at this scale some liberties could be taken with the box interior. The exterior however is the part that we most wanted to emulate, and so we took great care to be as faithful to the original as we could while scaling down.
Horns
It was agreed that the horns, providing the iconic look of the Paragon, would be one of the most crucial elements of this project. We started from here to make sure we could get a viable result before investing time in the other aspects of the cabinetry.
The horns went through multiple redesigns and trials before finally getting a usable result. The very first horn we tried was hand sculpted from foam and then covered in a latex based paint with the intention of creating a mold from which we could cast more horns.
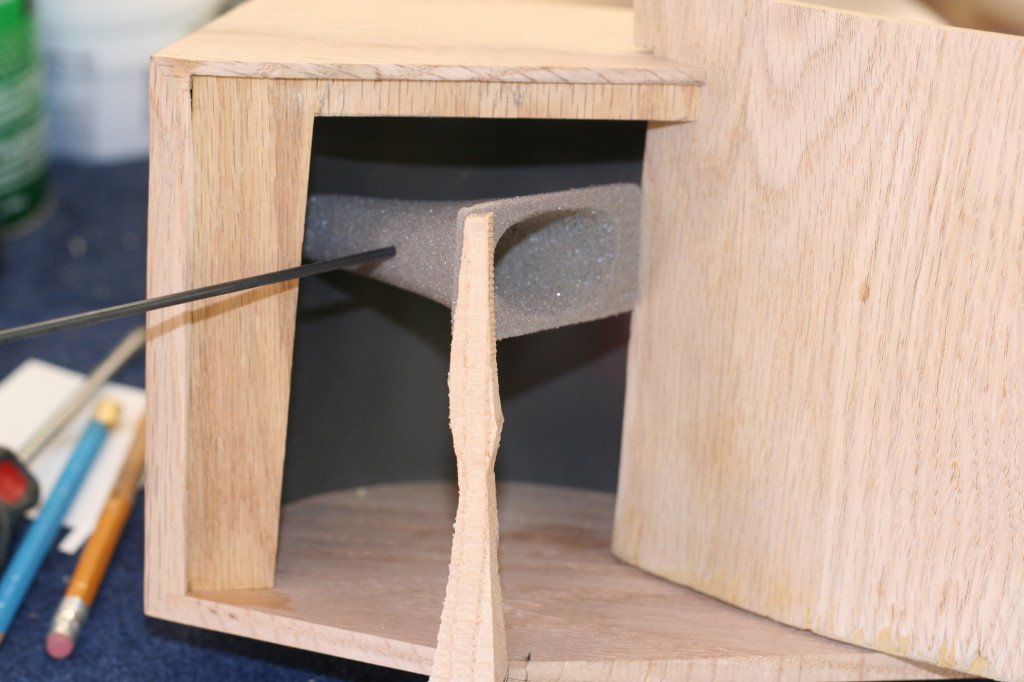
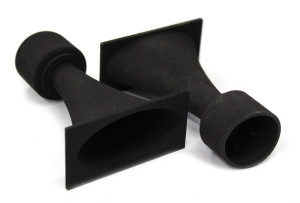
The result was just not accurate enough, and I then took it to the next step. I modeled the horn as accurately as possible using Autocad Inventor, and then had a horn 3D printed using Shapeway’s service. The result was remarkable.

We took this sample and then created a mold and cast half a dozen additional horns. Unfortunately, the resulting horns with susceptible to sag over time and had to be scrapped. The 3D printed horns, though more expensive, proved to be more resilient.
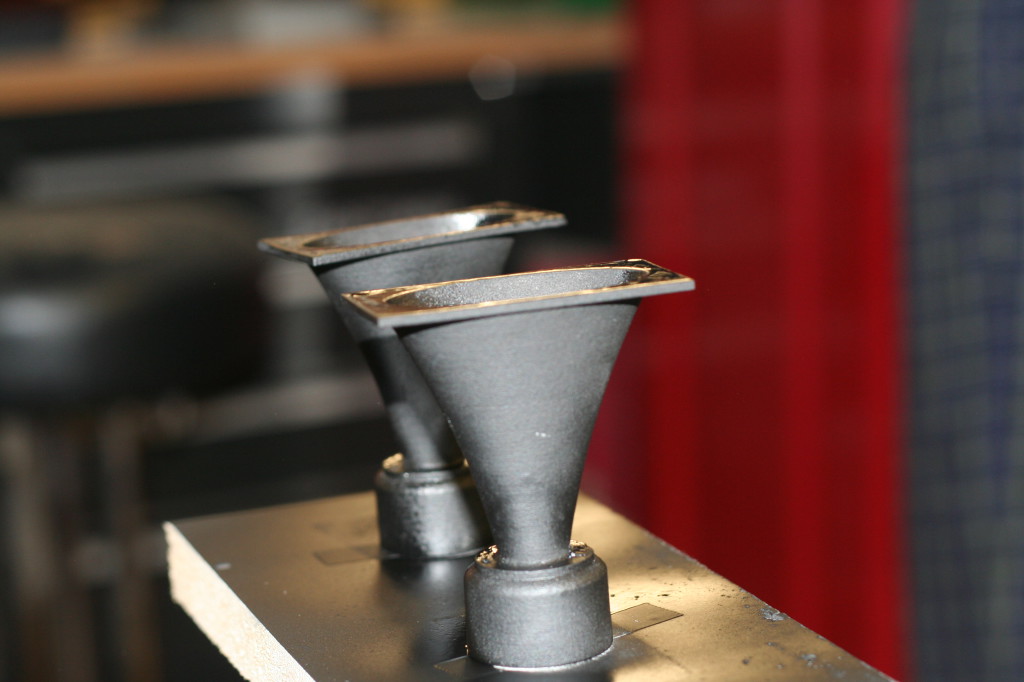
We had to do another redesign to make the horn fit a little better. We made test prints using a MakerBot and then ordered the final pair from Shapeways once we were convinced it was perfect.
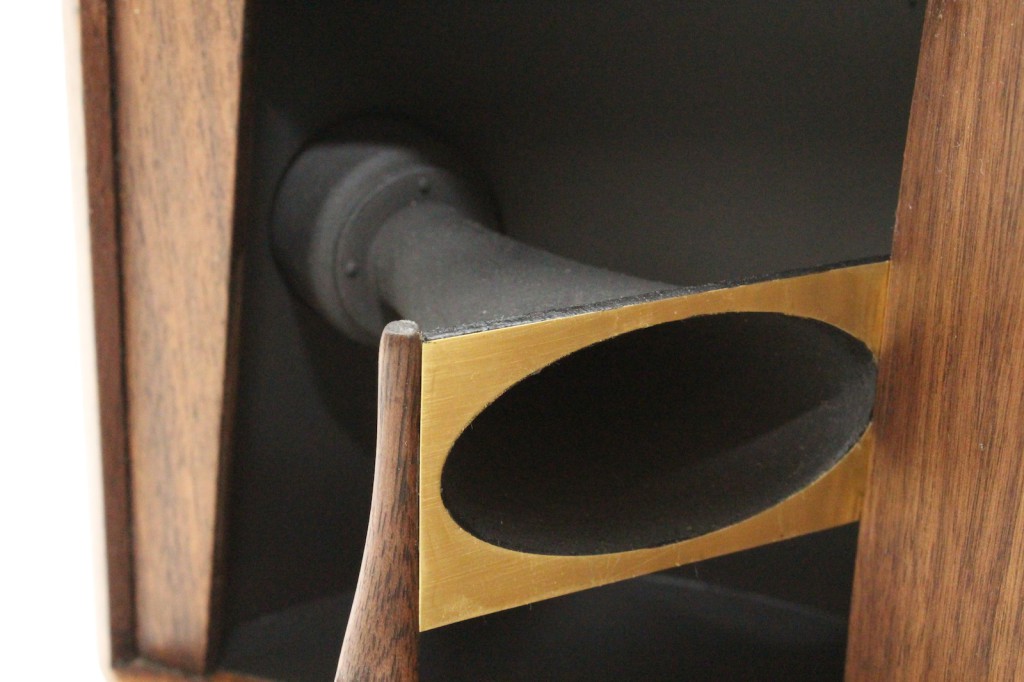
To get the gold front on the horn, we tried painting with multiple metallic paints, however each proved to not give an even luster. Finally, we bought paper-thin brass that we cut to the exact size, brushed, and coated with a protective enamel to prevent tarnishing. This was then epoxied to the front of each horn. The result looks fantastic!
Legs
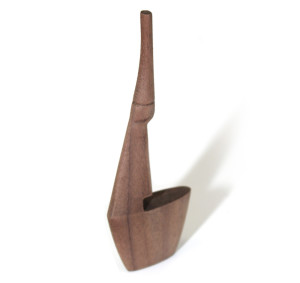
The legs were another trial-and-error endeavor. We cut some raw wood on a band saw to the approximate shape of the leg, then tried to shape the leg by hand, as one would do for the full sized Paragon leg. This proved to be difficult with such a small model, and we decided that a higher-tech approach should be used.
This necessitated the purchase of a small CNC machine that proved to come in handy throughout the project. Again using Autocad Inventor, I modeled an accurate representation of the leg, scaled it down to 1/5th scale, then exported the file as an STL file which we then used to make a CNC program to cut the legs out programatically.
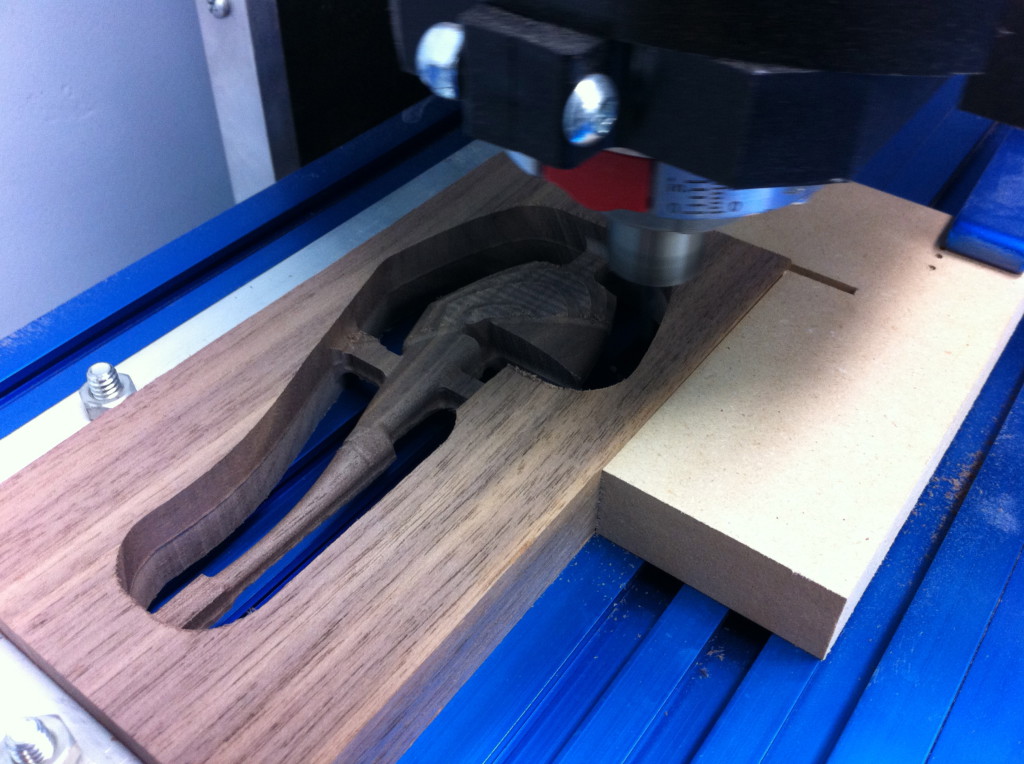
The result was once again fantastic. and made the project even that much more exciting to be working on.
Prototyping
We started by experimenting with Oak. We cut our all the basic parts for out of 1/4 inch thick red oak using a table saw and band saw. The basic shape was formed with the top, bottom and two sides. These for were all joined with 45 degree mitre joints.
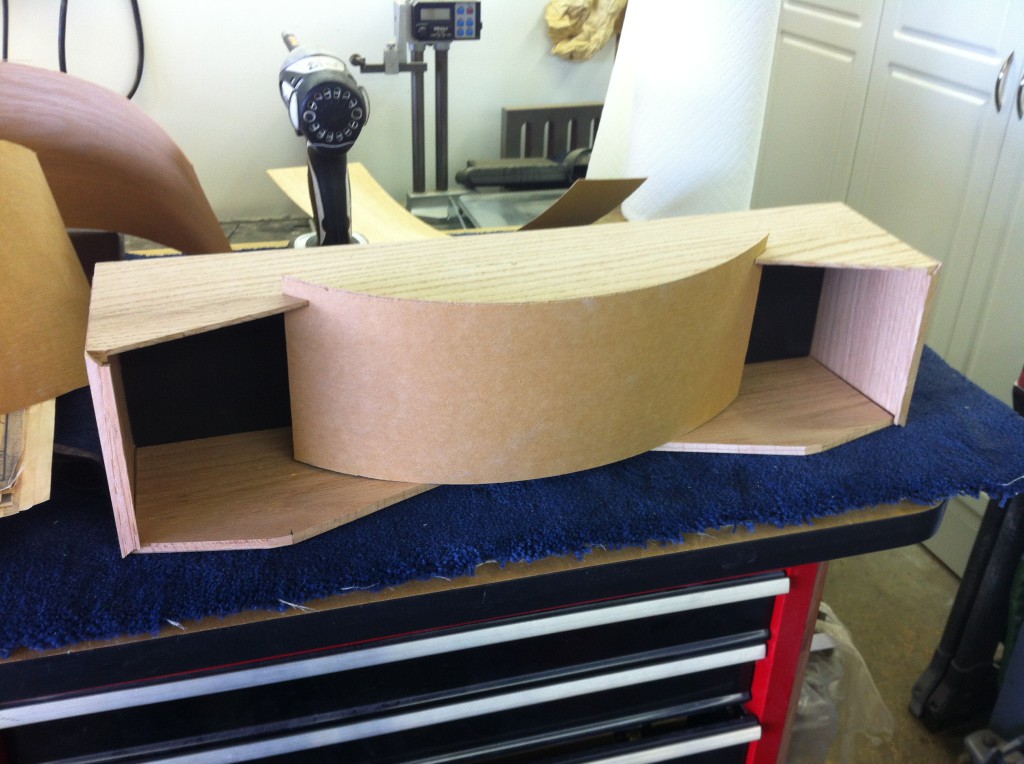
The front reflector is made from layers of laminated veneer. We made a jig with the correct curvature and then formed the reflector using contact cement and 5 layers of plywood. This made it the correct scale thickness.
Everything was trimmed and fitted. We placed some structural pieces inside to hold the drivers that were purchased for the project. 1/5 of the original 15 inch drivers worked out to be 3 inches which is what we purchased. The drivers don’t scale linearly in all three dimensions unfortunately, and they were too deep (long). This meant having them face the wrong direction inside the cabinet.
The inside curvature was accomplished by bending some thin steel, and painting it flat black. The steel held the shape very nicely, but it gave the box a tinny, bright quality when we first tried it. This was corrected by adding a sticky sound dampening material onto the backside. It made an immediate improvement.
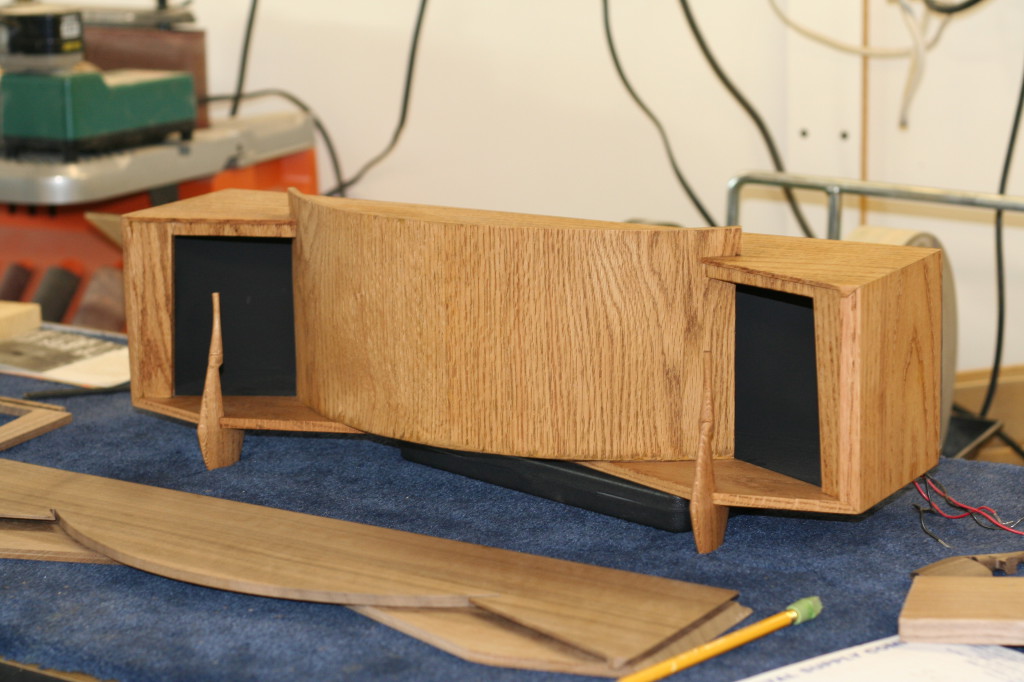
The prototype was finished off with the mounting of the horns.
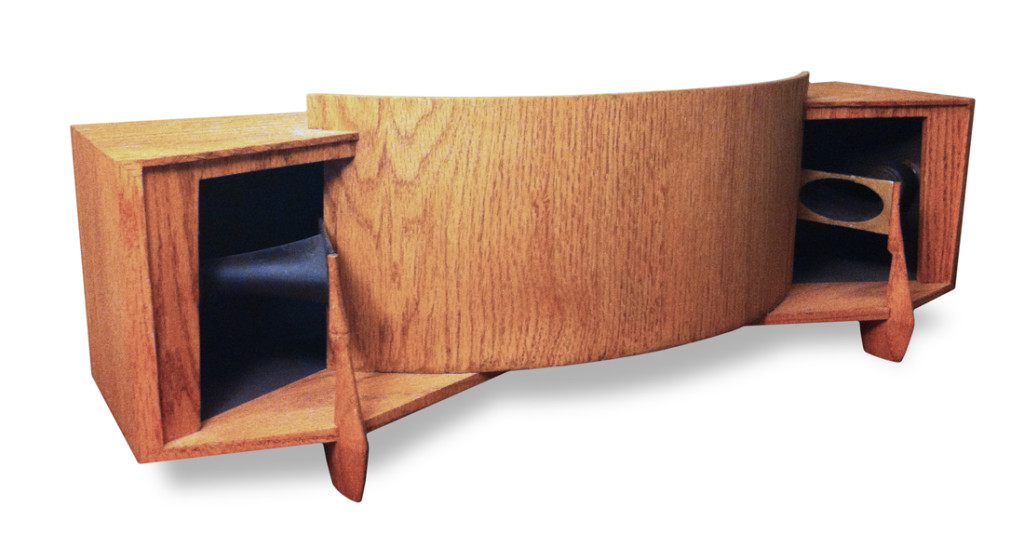
Final Cabinet
Once we had the measurements down, it was time to move on to using the correct wood. We bought planks and planks of quarter-sawn walnut to make the final paragon out of. All the wood planks were cut on the band saw to a .3 inch thickness.
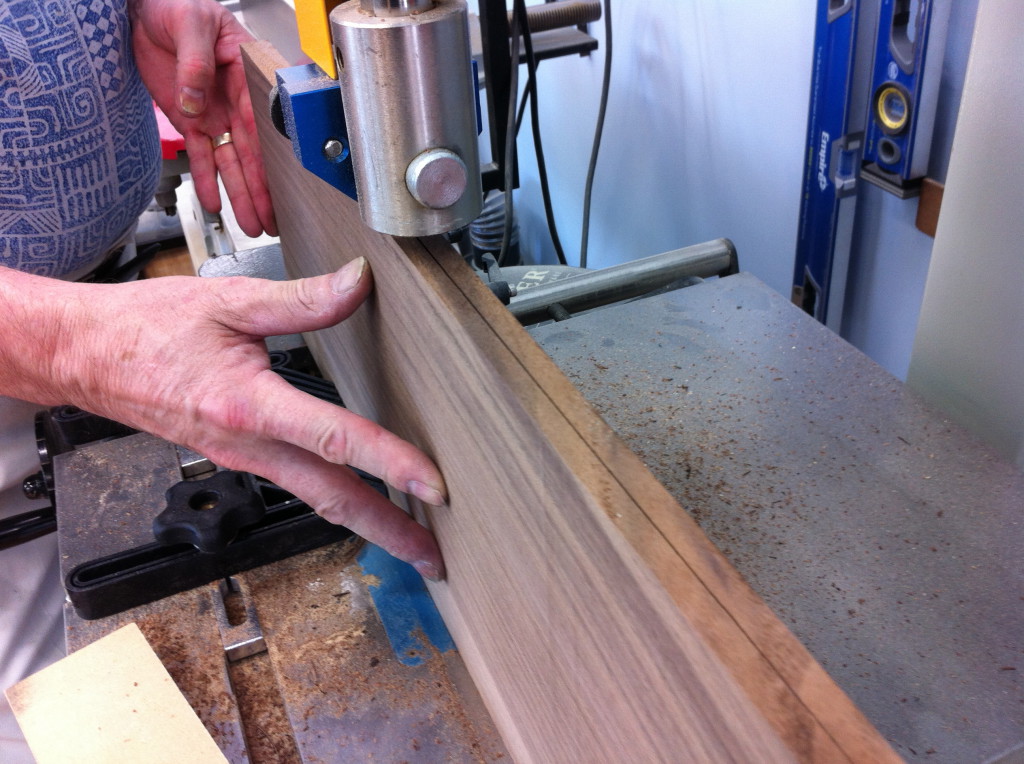
The wood was then planed and sanded down to a .25 inch thickness.
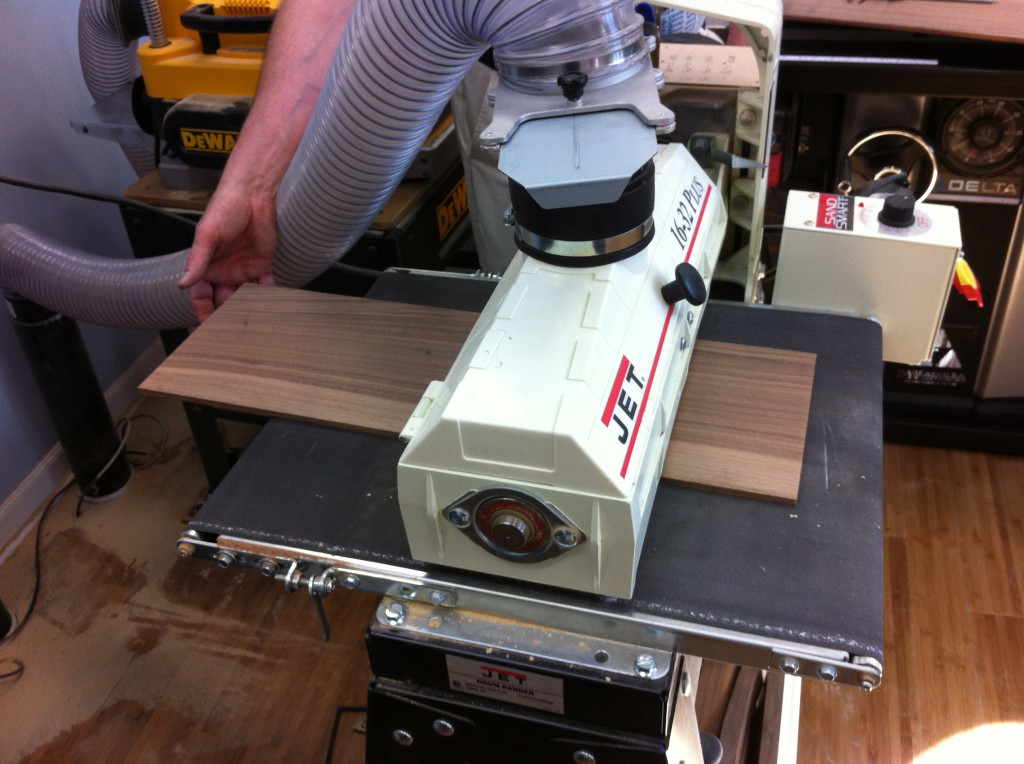
We then we used a CNC machine to cut the majority of the raw parts.
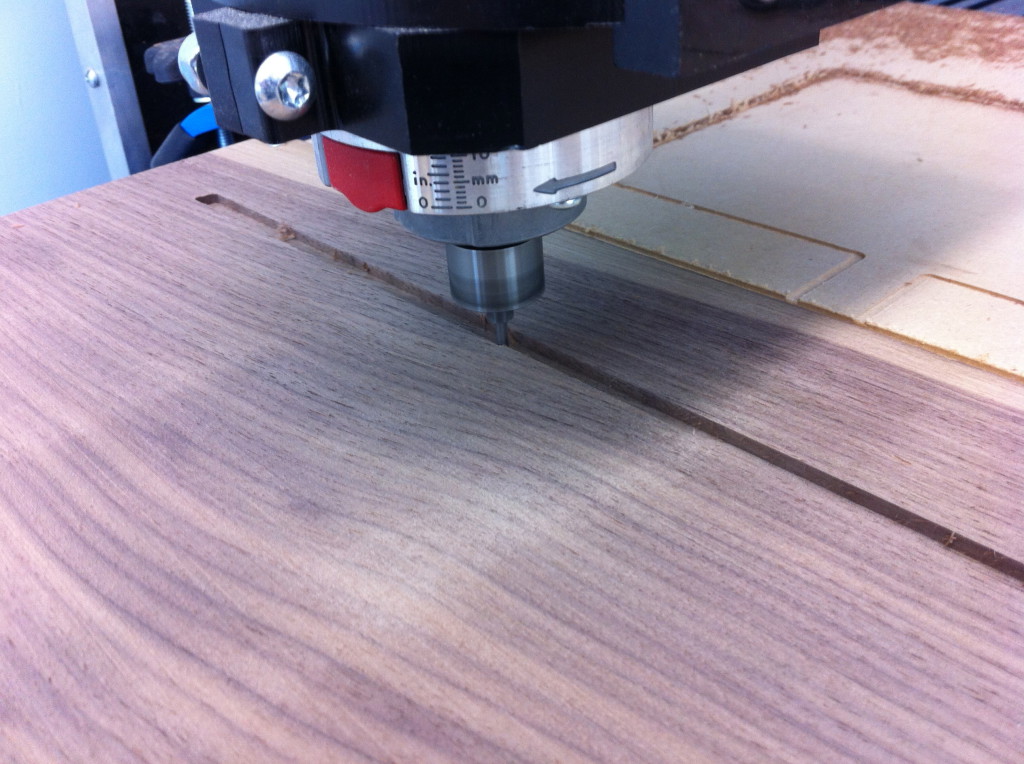
With the rough shapes done, we just needed to sand and prep for assembly. With so many intricacies, finding the right order for assembly was difficult!
All the wood was cut, sanded, and then filled to make the surface as smooth as possible. Additional sanding and the application of Danish Oil to color the wood completed the enclosure.
During this process we made some design changes to make it even more accurate. You could call it feature creep, and it felt like the project would never get done! The perfectionism was worth it, however, after seeing the box come together and get stained. It looks beautiful!
Electronics
I bought an off-the-shelf amplifier to be used with the speakers that we chose. However scaling down the audio to such a small unit left some weird acoustical anomalies that the amplifier did not account for. There were some obvious frequencies that were masked and others that were accentuated by the size of the miniature box. We couldn’t find an amplifier with built in adjustable equalizer that would allow us to tune the frequency response curve.
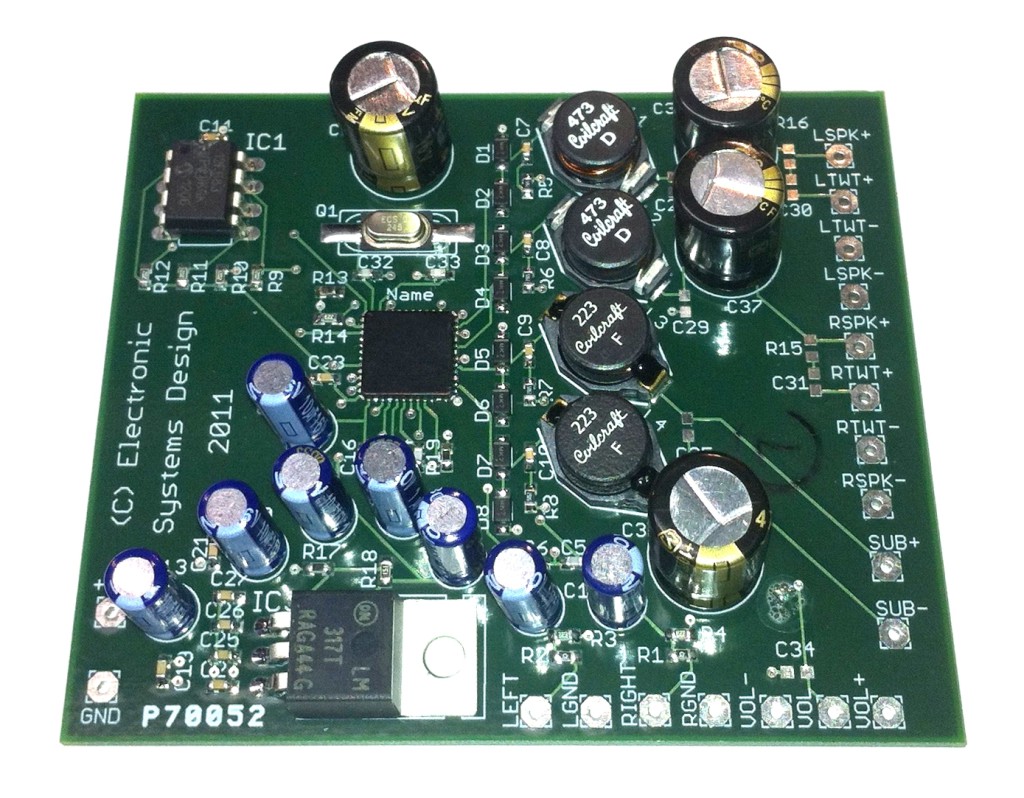
Ultimately, my dad designed his own using a special amplifier with 5 parametric equalizers in a single chip. The circuit board was layed out in Eagle, purchased, then we soldered on all the components and had ourselves a working amplifier small enough to fit inside the paragon. My brother programmed a PIC processor that controls the volume and equalization values.
The volume *** controls the overall volume, and when pressed in, controls the level of the subwoofer.
Speakers
The miniature Paragon is a 4 way speaker system. There is an internal housing for two 3-inch full-range speakers. These provide the main left and right audio channels.
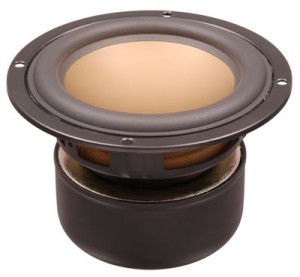
We found small tweeters that are 1/2 inch in diameter to use to power the horns. These are driven off of the main left and right channels via a passive crossover. The tweeters add to the higher end of the frequency response where the full range speakers begin to be less efficient. Additionally, it makes the Miniature Paragon more authentic and interesting.
Subwoofer
When we first listened to it, we noticed that it lacked bass. To fix this we added a 5 inch down-firing subwoofer in order to fill out the sound a little better. We created a plain 7 inch cube to house the 5″ sub, and added the same metal feet that are being used on the rear of the Paragon.
We felt it made more sense to contain the electronics in the Subwoofer, and let the paragon be tethered with only a single wire rather than with 3 (Power, Aux in, and Sub). This elicited a need for a control panel that would not look out of place.
We opted for an engraved brass plate to contain the wire connectors. The engraving was able to be accomplished using the same CNC machine that used for the woodworking. We used a diamond tip bit and drew up some artwork using Adobe Illustrator.
It took a few tries to get the speed right for the brass to be clean, but we finally did get it just right, and they turned out beautiful.
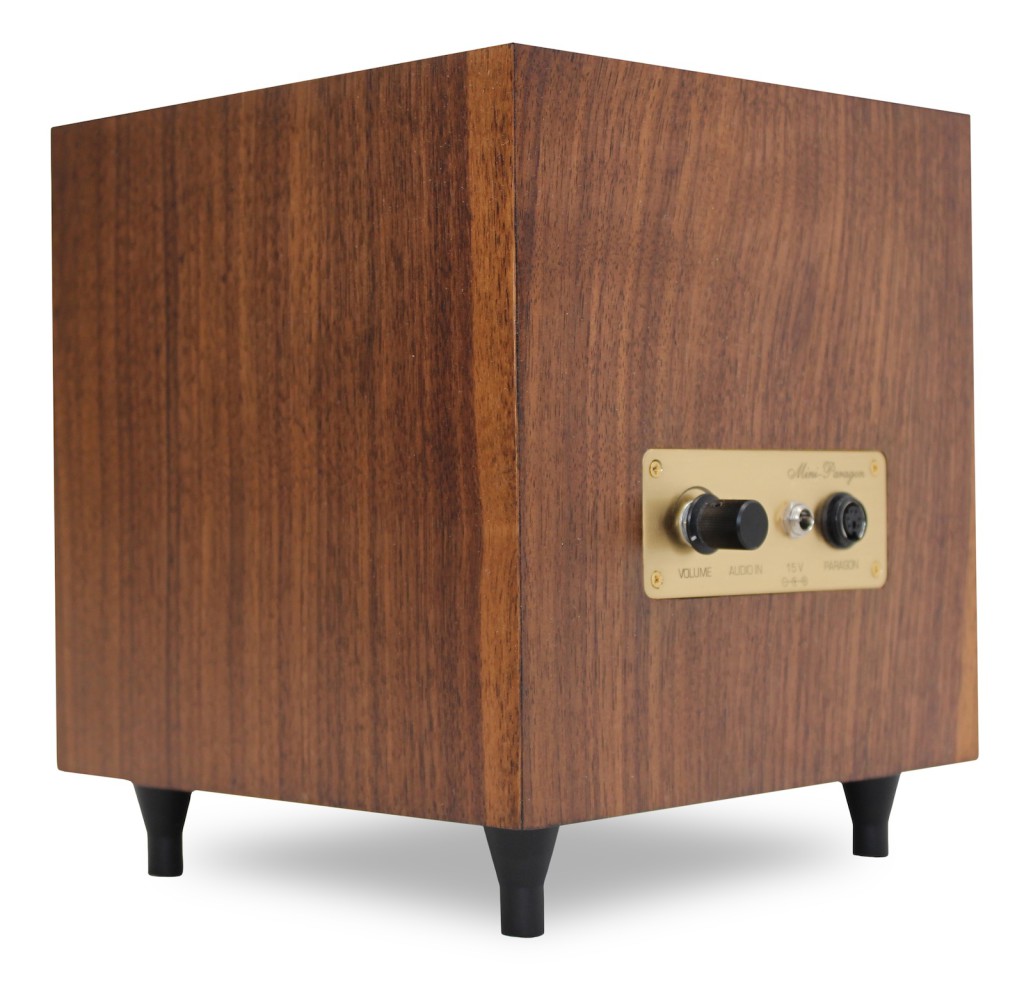
After engraving, they needed to be filled with a black filler to accentuate the lettering. Finally, they needed to be coated with the same protective clear-coat used on the horns to prevent tarnishing.
Putting it all together
Finally the whole unit is completed!

The resulting quality is amazing, and in some cases it’s hard to even tell that it is miniature when there are no object for comparing scale.

This has truly been a challenging, but completely worth-while project!


