I was tasked by a friend to create a relief carving based on a low resolution photo. The subject matter is a baby hand holding onto the daddy’s finger.
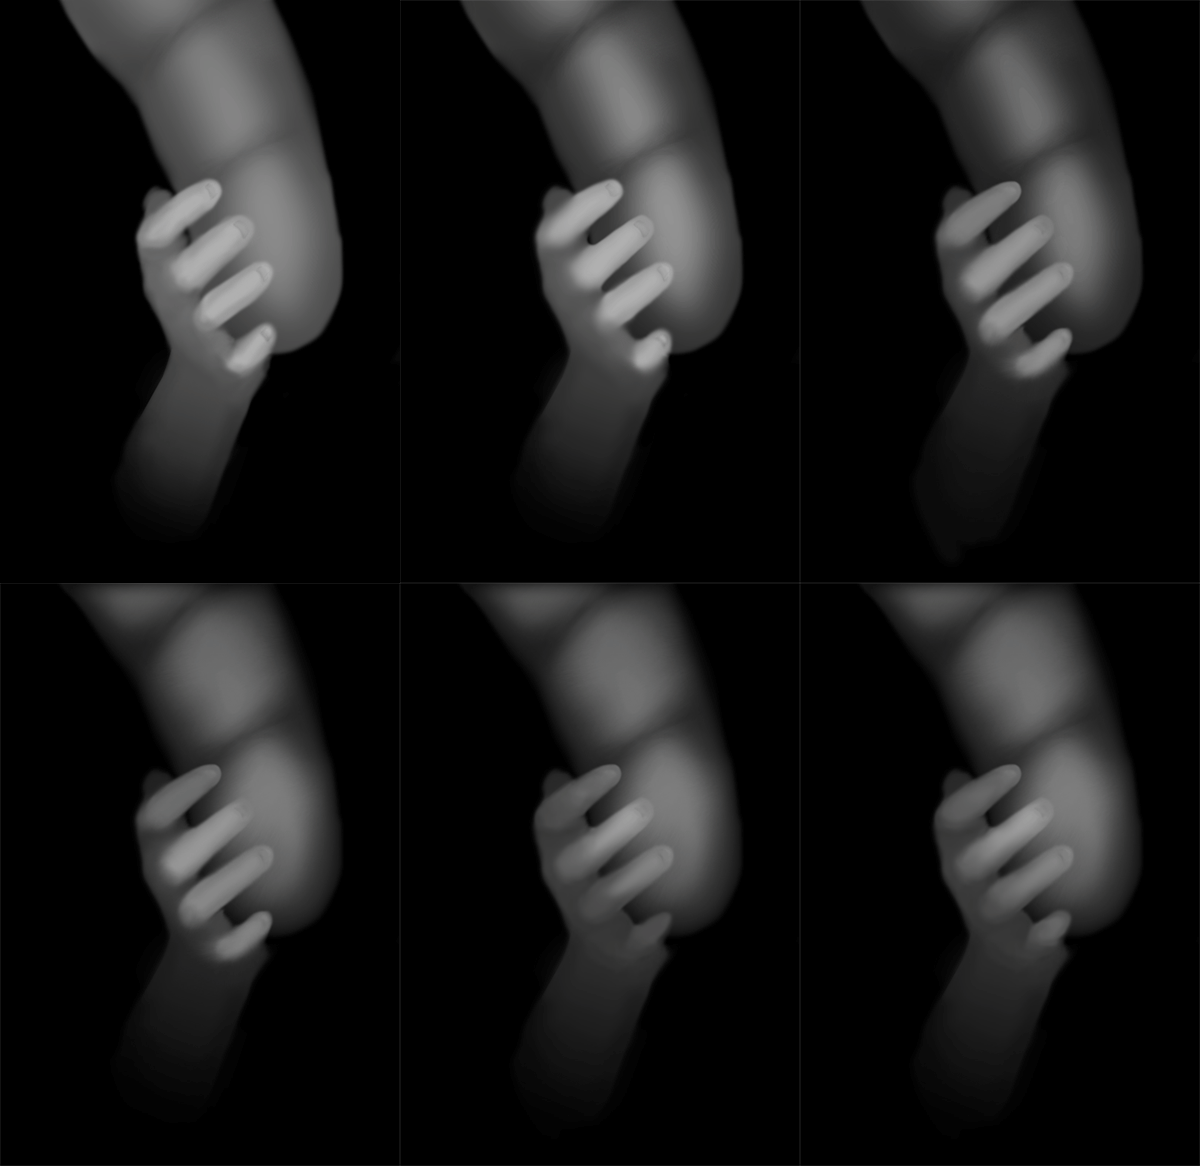
I’ve never needed to do any sort of relief carving like this, and I’m not real handy with a chisel, so I decided the best way to do it would be to generate a depth map and feed it into a CAM program that would generate the g-code to carve the relief. A depth map (also known as height map and bump map, depending on the program) is a grayscale image where each pixel represents a height based on it’s brightness; white being highest, and black being lowest.
There were a few ways I could go about making the depth map. I thought that the path of least resistance would be to bring the photo into Photoshop and manually paint a depth map over the image. Here is a gif of some of my iterations.
It took about 18 or so revisions before it got accurate enough that the final result was acceptable. In the CAM program many imperfections are readily noticeable, however the final product often looks better due to the maximum effective resolution of of a ball-nose cutter for a given size on wood.
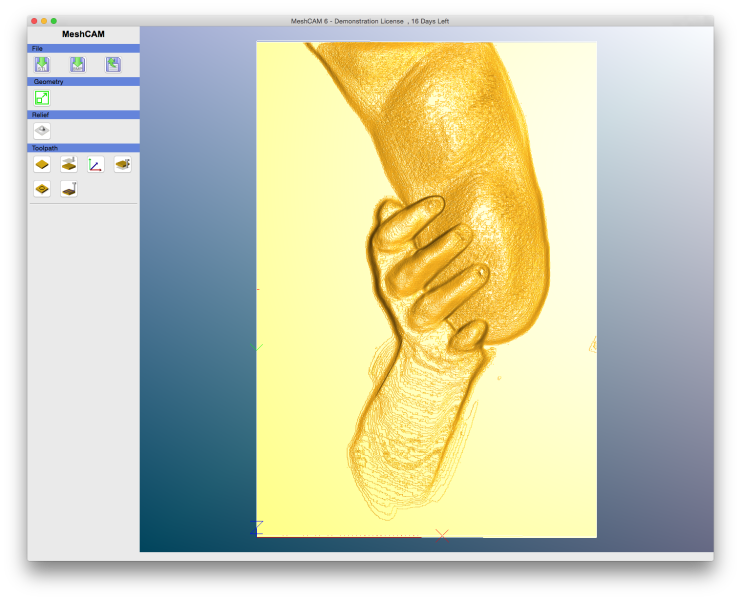
 I looked at quite a few programs to decide which would handle the depth map the best, and ended up using MeshCAM. MeshCAM was the most straight forward of the software I tried, and it also is available on the Mac. All I had to do was import the image, specify the wood dimensions, and the maximum cut depth, then adjust the speeds and feeds. The smallest bit I have for the CNC machine is a 1/8th inch ball nose.
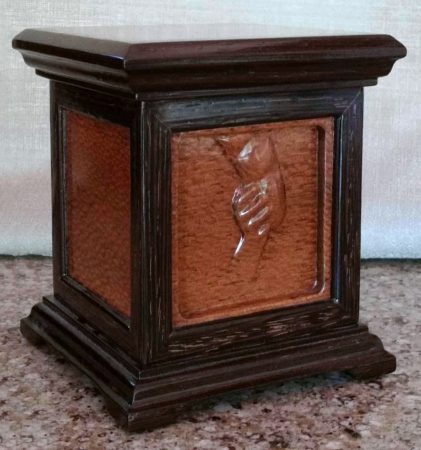
Here is the final result. My friend said it was perfect for what he needed.
In retrospect, it might have been easier to import the image into Blender and model the hand and fingers in 3D space. The results might have been better, however the method I chose was an enjoyable challenge and not too time consuming.

